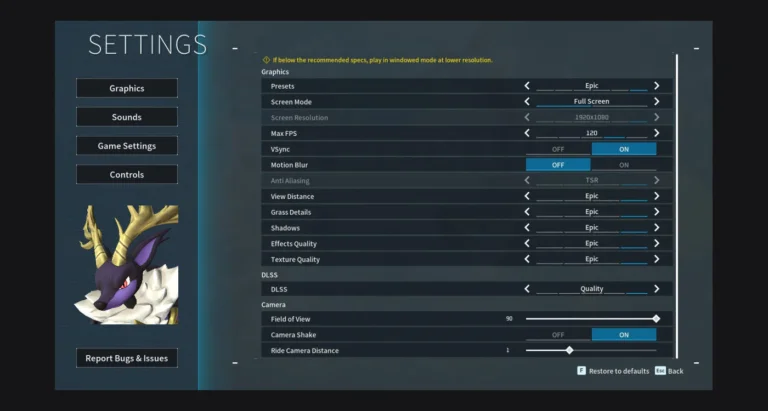
If you want to customize Palworld‘s settings for your own liking, just make sure you take a look at the full list, as well as which settings are recommended for beginners, casual players, and survival game veterans! If you are new to survival games, casual difficulty is your best option. Even if you select a difficulty setting, you still have the option of adjusting all the settings in the world to customize your own experience.
Related: More Palworld Guides
If you are new to survival games make these adjustments in Palworld
Difficulty: Casual
EXP Rate: 2
Damage from Pals Multiplier: 0.3
Pal Capture Rate: 2
Damage from Player Multiplier: 2
Damage to Player Multiplier: 0.5
Player Hunger Depletion Rate: 0.3
Player Stamina Depletion Rate: 0.3
Dropped Items Multiplier: 2
(h) to Incubate Massive Egg: 24
Enable Raid Events: Disable
If you have some experience to survival games make these adjustments in Palworld

The game’s recommended settings are fine for the Standard experience even though you can adjust a few settings to suit your liking. Please note, however, that increasing the Pal Appearance Rate may adversely affect performance, so be sure to adjust the settings shown above in order to refine your experience.
Difficulty: Normal
Pal Appearance Rate: 2
Death Penalty: Drop all Items except Equipment
If you are an experienced survival gamer make these adjustments in Palworld

In case you are a veteran or a seasoned player of survival games, choosing Palworld’s hardest difficulty will give you more challenges in the game. The game can still be played on the hardest difficulty, but you can still alter the world settings to suit your preferences despite the hardest difficulty. To make the game a little more challenging but rewarding, we recommend using the settings listed here.
Difficulty: Hard
Pal Appearance Rate: 2
Damage to Pals: 0.8
Dropped Items Multiplier: 1
Gatherable Objects Respawn Interval: 2

Here is what each World setting means in Palworld
- Difficulty: This controls the difficulty level of the game. There are four difficulty levels to choose from: Casual, Normal, Hard, and Custom.
- Day Time Speed: This refers to how quickly or slowly daytime passes in the game.
- Night Time Speed: Nighttime time moves faster or slower depending on how you sleep. Sleeping on a bed will skip time and wake you up the next day.
- EXP Rate: The amount of experience you and your pal will gain after defeating an enemy is displayed.
- Pal Capture Rate: You can capture Pals or Humans on this setting in a variety of ways. Setting it on 0 means you won’t capture anything, and setting it on max means you’ll capture anything quickly.
- Pal Appearance Rate: The setting refers to how often Pals or lucky Pals appear in your world. If you set it to 0, you will barely see Pals and rare Pals.
- Damage from Pals Multiplier: The damage your Pals deal to enemies and enemy Pals is determined by the setting. Setting it to 0 will make your Pals deal extremely little damage.
- Damage to Pals Multiplier: It is used to control the amount of damage enemies deal onto a Players Pal. Setting it to zero will result in extremely low damage being dealt by enemies.
- Pal Hunger Depletion Rate: It indicates how often your Pals get hungry after they do chores, are kept inside the Pal box, and while they are idling around your party.
- Pal Stamina Reduction Rate: The damage your Pals deal to enemies and enemy Pals is determined by the setting. Setting it to 0 will make your Pals deal extremely little damage.
- Pal Auto HP Regeneration Rate: When a Pal gets hit, it recovers how much HP he or she has.
- Pal Sleep Health Regeneration Rate: This refers to how fast Pals recover HP after sleeping in their Pal beds.
- Damage from Player Multiplier: It is the amount of damage a player deals to their enemies. Most players begin with low Attack, so adjust it according to your preferences!
- Damage to Player Multiplier: A Player’s hit points are determined by the amount of damage they take from elemental attack lingering damage, fall damage, or damage from drowning itself.
- Player Hunger Depletion Rate: It is a setting related to the time it takes for the Player’s hunger meter to deplete. Setting this to max will make the hunger meter deplete as slowly as possible.
- Player Stamina Reduction Rate: Runs, dodges, and swims consume stamina faster than others; raise the metrics to last longer, decrease them to consume stamina faster.
- Player Auto HP Regeneration Rate: When a player takes a hit, this is the time it takes for them to recover their HP.
- Player Sleep Regeneration Rate: This refers to how quickly players regenerate when they sleep.
- Damage to Structure Multiplier: When an invader hits a structure during a raid event, how much damage does it take?
- Structure Deterioration Rate: The strength of a structure is determined by the rate at which it can be destroyed. Use it to make walls, floors, workbenches, etc. more durable.
- Maximum Number of Dropped Items in a World: You can specify the maximum number of dropped items you want in your world.
- Gatherable Items Multiplier: Increases or decreases the number of gatherable items in your world, such as Pal Spheres, Eggs, and Treasure Chests.
- Gatherable Objects HP Multiplier: The amount of HP that a gatherable item has is increased or decreased.
- Gatherable Objects Respawn Interval: This is the time taken for gatherable objects and resources in a player’s world to respawn.
- Dropped Items Multiplier: In addition to items dropped by gathering, you can also get items from defeating enemies. Raising the metrics will lead to more item drops, or lowering it will lead to fewer items falling from enemies.
- Time (h) to Incubate Massive Eggs: This refers to the time it takes to hatch large eggs. Raise the metric number to speed up the process.
- Enable Raid Events: Raid events are triggered by enemies, NPCs, and friends invading your base. You can enable them or disable them based on your preferences.
- Death Penalty: When a Player dies in the game, a set of conditions will apply. Select one of the choices presented to apply the condition.
- Max Number of Guilds: You can limit the number of guilds in your world by setting a maximum number.


